Showing posts with label sewing with knit. Show all posts

Sunday, September 18, 2011

a pile of old tees

A while ago I went on a hunt in op-shops for old tees with lycra in them

IMG_8776

why?

to make knickers!

IMG_8773

And on top of the old tees, knit fabric scraps (of descent size) also make great knickers.

IMG_8772

Now my girls can dance around with a little extra coverage that little girls require.

dont look too close, they are rough and ready, but the girls dont care!

Pattern from That Darn Kat and also Cinderella Zwergen Mode. Both are PDF patterns.


Saturday, July 2, 2011

Modified Olivia- tutorial

IMG_8152 edit


IMG_8143 mod
IMG_8165 mod
arnt they georgeous!
This is a modified version of the Olivia pattern by Farbenmix.  If you have girls this is a must have pattern.  So easy and quick.  Typical me- instant satisfaction dress.

I was looking for a way to use only 50cm of my favourite knit fabric, yet still make a dress.  So here is my effort. I was inspired by this one that I saw on Flickr.  Sorry if you cant see it, but I cant find the blog address for this talented seamstress.
This fabric is JNY knits and also stella from Crafty Mamas

Started with the bodice of the Olivia dress. I just traced the front and then copped it off straight about 4cm under the arm.


Traced it out onto some more tracing paper to make the whole bodice.


Ruled a line from one shoulder to the bottom. I lined it up with the outer shoulder seam. I also filled in the part of the neck that was left with no paper.
The 2 lines are an error. There should only be one line.


Cut along the line

cut 2 in the opposite. If you are using directional fabric make sure that you notice the direction (yes saying this from experience). Also add a seam allowance on the bodice and skirt so that you can sew them together. I didnt add any seam allowance to the neck as it would have made the neck too small.


Cut out the back as per normal (just the bodice part), sew the shoulders together, and then add your neck binding. I did the traditional neck binding, but you can do it just right sides together, it just means that you would add a seam allowance and top stitch. I did sretch the binding slightly, but not as much as I would on a normal neck.


pin is all together and sew along your stitch line where you top stitched the binding. Make sure that the join at the intersection is sewn well, as there will be a lot of pressure on that seam.


then sew your pocket onto the skirt
attach your front skirt and back skirt, and top stitch.
add your sleeves. I did 2 tone sleeves.
The new from your hem right around to the end of the sleeve. Make sure that your seams match at the bodice and under the arm. You may want to use wonder tape of loads of pins.
Hem as per normal.

Hope you enjoy, and dont forget to show us all when you give this a go.


Tuesday, May 24, 2011

To Go To Lily dress

This little dress is georgeous, and so easy to make! The pattern is by THE TRAIN TO CRAZY.  Its a free pattern, but you do need to have a top that fits your subject on hand otherwise would might get stuck.  There is no guide on how gathered to make the neck, or how gathered to make the cap sleeve.  Saying that you cant really mess it up either, unless you make the neck too tight.

IMG_7908

Fabric is by Michael Miller and some spandex knit I had hanging around here.

IMG_7910

And of course every 3yo knows how to play games on the ipod/pad/phone!

IMG_7909
I must say, she loved the dress.  She didn't take it off all day.  T hats a good sign! 

Sunday, May 22, 2011

Sewing marathon item 1- Jalie 2910

I have been on a bit of a sewing marathon. Sewing manly simple things, but things that I have wanted to do none the less. Also in order to make a dent into my fabric stash!


This is jalie 2910, cross over top. Although I am impressed with this pattern (the sizing is from kids to adults) I am not overly impressed with the way that it fits me. I dont think it is meant for awquard figure that is me. (meaning shallow shoulders, small back and big diameter)

I might try and adjust it so that the neck line is wider on my shoulders, and fit it so that the v sits lower on my chest. The shoulder seam is not meant to sit on my shoulders. I got a fright when the back arm hole was so much bigger than the front... but this is why!

Luckily I didnt try it on my favourite fabric. Only thing is that the green looks a little like the scrubs they wear in thetre at a hospital. Never mind. Its comfy and the front doubles over so it warm too.


Just as a follow up, the more I look at this picture and think about it the more I think that I will not make this pattern again.  I wish to sell it and move on if anyone wants to try it for themselves.  Its an easy pattern and as long as you are not a G cup then you would probably fit it fine.


Posted by Picasa

Friday, December 31, 2010

Has it really been that long?

Has it really been that long since I blogged?

I hope everyone had a fab Christmas.  My niece and nephew got spoilt with a little of my sewing.

Ottobre 3/2009
fabric: denim from SL

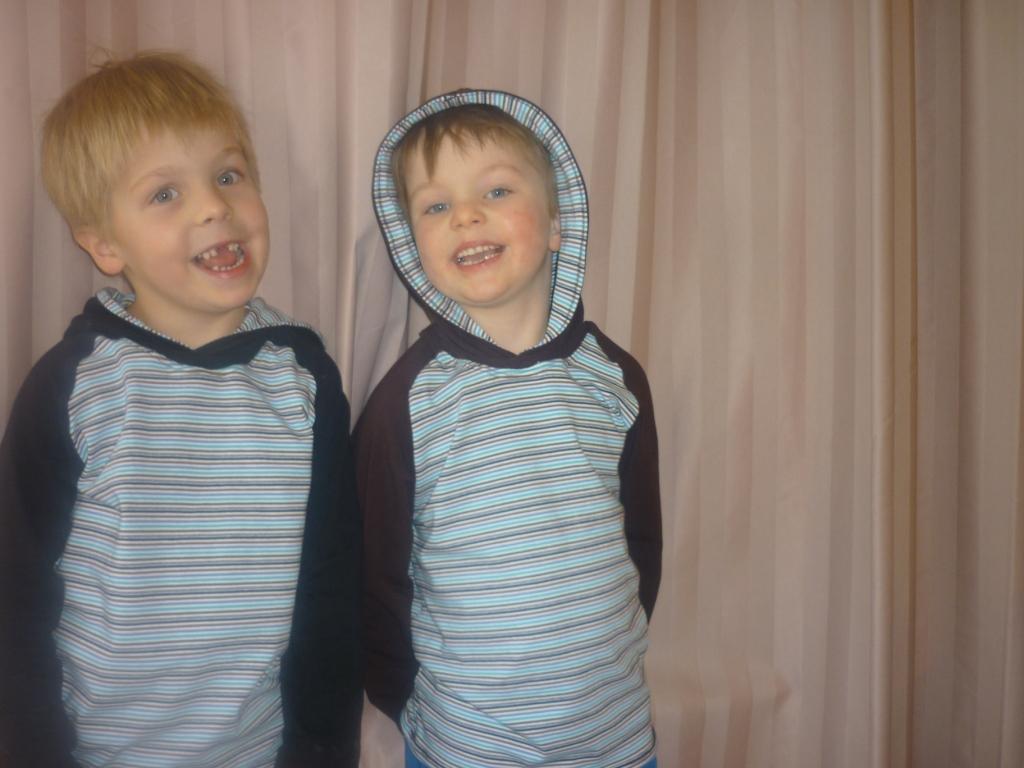
Farbenmix Hilde with an added hood
farbric stella from CM

And a 4yo boy who would not co-operate!

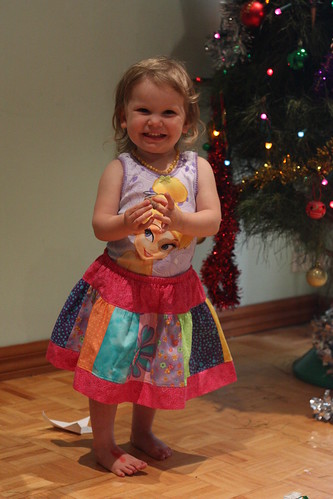
patchwork skirt for my niece, designed by me
Fabric: various places.


Sunday, August 29, 2010

Ottobre 301.

Crafty Mamas forum has the occasional sew-a-long, where a few people commit to making a particular pattern.  This time it was the Ottobre 301.  Although I should be doing my embroidery challenge (I did attempt it for the record- but more on that later) I decided to try the 301.

It took about 15min to trace the pattern, and had I not messed up the neck it would have taken about 45min in total to sew together!

The result- very effective and happy. Size 98 for my 2.5yo.  I cant wait to get my 303 (the adult version) so that I can make myself one!

here are the brag pics (in the PJs).


ta daa

ta daa again

and for some reason blogger wants this sideways.

What I have learnt:

  • not to take a seam allowance on the neck or the binding.  Otherwise it wont fit over your toddlers head and you have to cut it off.

  • Binding is heaps easier to attach in the flat.

  • That after you cut off the neck binding, you have to attach the new binding in the round, and that is a pain!

  • that the top still looks good even if you cut it on the wrong grain. 

  • That this hilco fabric doesn't have alot of stretch on the wrong grain.

  • That I love Stella and hilco!
Maybe next time I should not cut it out in front of the warm open fire with my gorgeous kids running about...

Wednesday, June 30, 2010

Ottobre 4/2008 Raglan hooded top

Well this top was a long time coming.  I cut it out to complete at the CM retreat back a month ago.  And I realised while I was there that I hadn't cut the neck binding out.  Now that I have finished the project I know why!


Does anyone have any good tips on how to sew together a layer of top, 2 layers of binding and a lined hood?
Next time I think I will be just adding the hood or the binding, not both.


But apart from that the results are excellent. 

My twin stretch needle and I are yet to become good friends, but we are working on it.  I cant seem to get the tension right!

boys will be boys :)


Monday, April 26, 2010

IMKE

I wonder how anyone who has boys and sews survives without this pattern..  Its so easy and quick to sew up.


Made with plain back Stella and camo knit from Crafty Mamas shop

i finally sewed an OLIVIA

actually I sewed 2, the 2nd one has a purple hood and sleaves, bit little Miss 2yo going on 16 doesnt think its cool.

Its such an EASY pattern!  I used my overlocker, but could have used my machine.  I stabilised the shoulders with tape, sewed them together.  Added the hood.  Did the sleaves (this is the first time I have done a false under top, so I made it up.) sewed the side seam and the sleave all in one hit.  Then hemmed it (I will do a tute on how I hemmed it as I am rather proud that it worked!)


I think we are going to need some leggings too.  The fabric was from SL.

Also made the matching knickers, but I dont think this single knit is really suitable.  Well it is for the body of the knickers but not the waist band.


Tuesday, February 2, 2010

Sewing with Knit- some thoughts from Sara...

Sara is from Willow & Moo, and has been sewing with knit for years, and has kindly shared some thoughts about sewing with knit to help us all.

Thank you Sara!

Something in knit is February's challenge. Carolyn has asked me to write a bit about sewing with knits. I am by no means an expert, but I sew a lot of knits, mostly cotton and cotton/spandex. I was afraid of them before I started. I'd heard all the horror stories, but I wasn't going to let that stop me. I did my usual thing of doing a bit of research before embarking upon a project. It's my scientific training. Following are links and bits of information that I've found useful.

Knits always seem a bit scary for the uninitiated, but they are quite forgiving.
Here are two great links with lots of excellent information about knits.
Timmel Fabrics Sewing with Knits Lessons
Denver Fabrics - sewing with knits

With knits choosing the right needle is important. I use either a ballpoint needle or a stretch needle. A sharp needle can pierce the fibres on a knit and make holes. A ballpoint needle will push through the fibres without damaging them. I sew a lot a knits with spandex, and I use a stretch needle on those.


Use polyester thread. I will admit that I do use cotton thread at times, but that is because I am a dyer and need my thread to dye with the garment. Polyester thread has more give in it, so it's less likely to break if stretched. Wooly nylon can also be good to use in the lower looper of your overlocker.


If you have an overlocker, use it. It's quick easy and gives you a seam that can handle the stretching of the fabric. If you don't have an overlocker, you can still sew knits. I use my sewing machine for some things when sewing knits like topstitching or when I need the sort of control that I can't get with the overlocker. If I use my sewing machine, I use my walking foot. A walking foot isn't just for quilting. It walks the fabric through the machine. This keeps it from getting stretched out. If for some reason I want to use a different foot on my machine then I lower the presser foot pressure. Not all machines can do this though.

If you are sewing a seam with a sewing machine, you can use your machine's stretch stitch. You can also use a wobble stitch - a regular stitch length (2.5-3.5 whatever you like) and a 0.5 zigzag. I also reduce my tension a little. Reducing the tension provides a bit more give in the stitches.


After reading the draft of this Carolyn said to me, but how do you deal with curling edges? And my reply is that I just deal with them. It's jersey knits that have a tendency to curl on the edges and this can make it difficult to line up the edges of the fabric. To be honest it drove me mad when I first started sewing knits, but now I don't even think about it. If I am trying to match stripes, I either use some pins (and more pins) or Wash-a-way Wonder Tape. Some other things that you can try to tame curling edges are starching and pressing the edges or you can use a gluestick. I've read about people using washable glue stick to stick the edges together. You need to let the glue dry before sewing!


After you sew a seam or hem, steam is your friend. Even if the seam appears a bit wavy a quick press with steam will usually bring it back into shape.

Now if you haven't done a neckline, it can seem scary. There are two main ways in which you can finish the neck. One is with a rib style band, and the other is to bind the neck. Lesson 2 on the Timmel Fabrics site shows you how to do both types. I found this link invaluable. Here is another great tutorial for a bound neckline. The one thing to always remember that the length of fabric that you use for the ribbing or binding will depend on the stretch of the fabric. With experience it becomes easier to know how much to use.

There are several options for hemming knits.
1.Coverstitch machine – this produces a hem like you find on a store bought shirt. It's two rows of stitches with a sort of zig zag on the back which covers the edge of the hem.
2.A twin needle – a twin needle can be used to give the same effect as a coverstitch on a sewing machine. You need a stretch twin needle and a common width for hems is 5mm, but if you like a narrower gap between the stitching, look for a 3mm.
3.A stretchy decorative stitch on your sewing machine. I do this a lot. For girls' items I use something that looks like a curvy or wavy stitch.


Rainbow sleeve

For boys' items I sometimes use a honeycomb stitch.


Knut Hilda pocket close up.

The honeycomb stitch is on the pocket openings.
4. Lettuce hem


Olivia in pink knit with white flowers

I do my lettuce hems by setting up my overlocker for a 3-thread rolled hem. Then I stretch the fabric as I sew it. This creates the lettuce effect. Not all knits lettuce well. The very first time I tried it. I thought that I was doing it wrong. Turned out the knit I was using just didn't lettuce. So before you get your heart set on using a lettuce hem, test it out on a scrap of fabric.

I use Steam-a-seam 2 on my knit hems. It's stabilises and holds my hem without pins, so it's easy and quick to stitch. Even though Steam a Seam is a fusible, it still has some stretch and give to it. There is also another method of hemming knits using Solvy (If you haven't visited Pam's blog before, have a look around. She's an inspirational seamstress).

Do you have a pattern already? Or do you need a suggestion? Kwik Sew makes lots of knit patterns as do Jalie. If you are looking for great fashionable tops, Ottobre Design always has fabulous t-shirt patterns in their magazines. They also have a stand alone basic t-shirt pattern, Ottobre 301 for kids and 303 for women. The first knit pattern that I ever made was the underdress of the Farbenmix Olivia pattern. It is still one of my favourite patterns as it is quick and simple to put together and the end result is fantastic.

addit: there is some project ideas in amoungst the commnets ;)